So who to actually build this thing? I wasn’t going to be running chamber reamers on a drill press or thread the muzzle with a hardware store die set. I might stoop so low as to Krylon a stock, but not on this rifle… definitely not on this one. There was only one choice, it had to be LRI-built. Half high-end gunsmithing shop and half machine shop, they bring the weird and impossible to life… and they’re local.
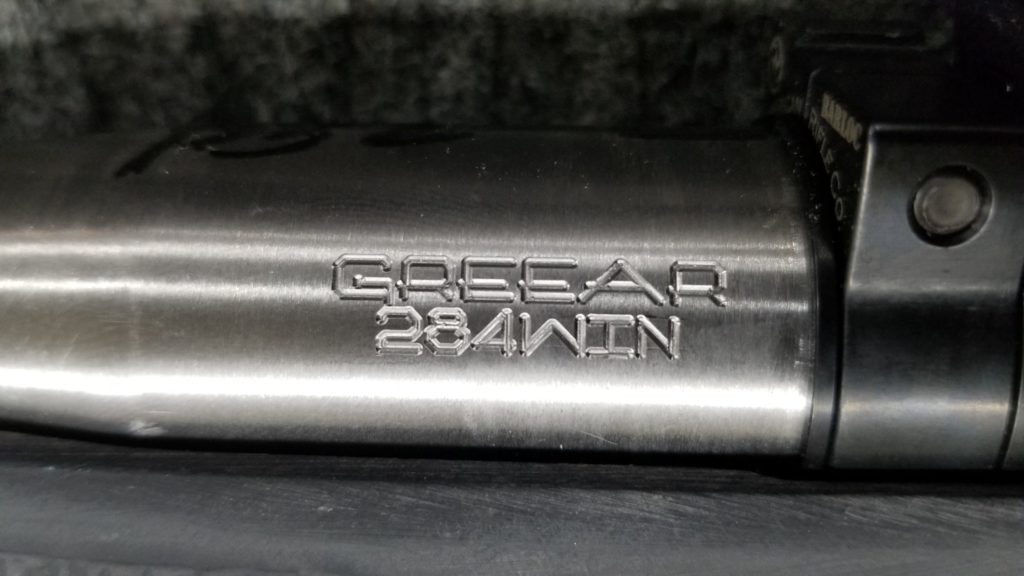
I decided to go with barrels made nearby in Rapid City, SD by K&P Gun Company. These barrels are well priced, match grade, cut-rifled, and made of 416R stainless. They didn’t need to be all that, I liked that they are manufactured effectively just down the road. The fact they are some of the finest traditional match grade barrels made certainly does not hurt, though. I got these barrels in a varmint contour, which is a bit on the heavy side, but I rationalized that a few different ways: they would be fluted to take a bit of weight off, they would handle trips to the local prairie dog town well, they would leave plenty of meat to support the 5/8-24 threads and suppressor, and the weight would moderate recoil a bit. I had both barrels finished at 19″ so the rifle with 7″ of
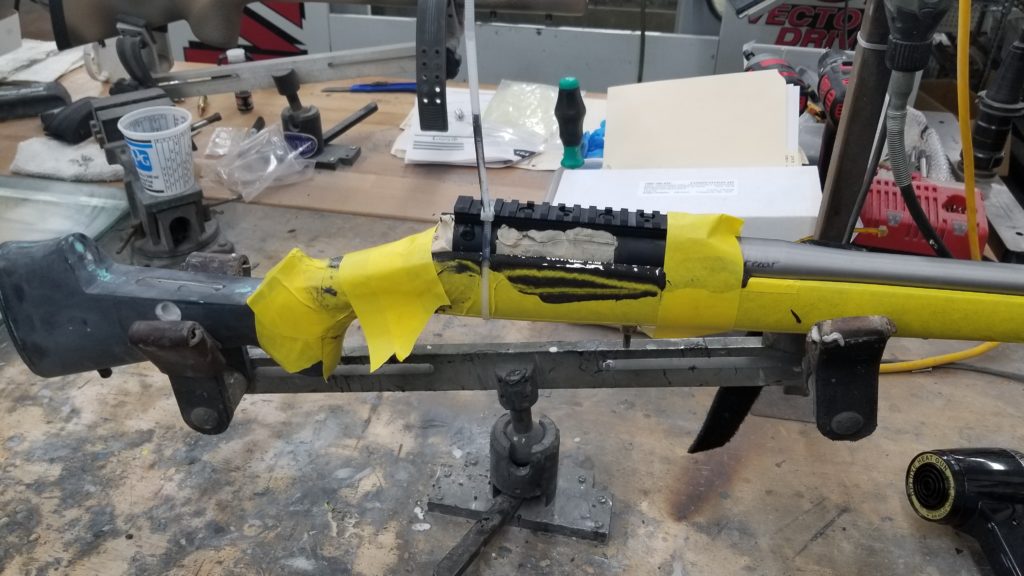
I had the McMillan stock bedded using LRI’s pillar bedding process, where the receiver is mated to the stock by a layer of epoxy 0.05″ thick. The receiver is dunked into the stock that has had an oversized receiver-shaped bathtub carved into it, and that void filled with epoxy resin. After curing, the receiver is popped back out, and all the various ports are milled through the epoxy. This is a fairly different process than typical bedding, where the complete inlet is done first and a thin skim of epoxy is used to mate the receiver. It’s tough to control the epoxy, so the traditional method typically ends up looking pretty messy when you pull the receiver out, whereas the LRI method looks like art.
To take a bit of the guesswork out of swapping barrels I tracked down a torque wrench just for the application. The barrels both had one of LRI’s contour-matched thread protectors on the muzzle, but this rifle was a bit different… with two barrels one of them would need to be wearing a thread protector on the other end. A custom tenon “Thread Pro” was in order.
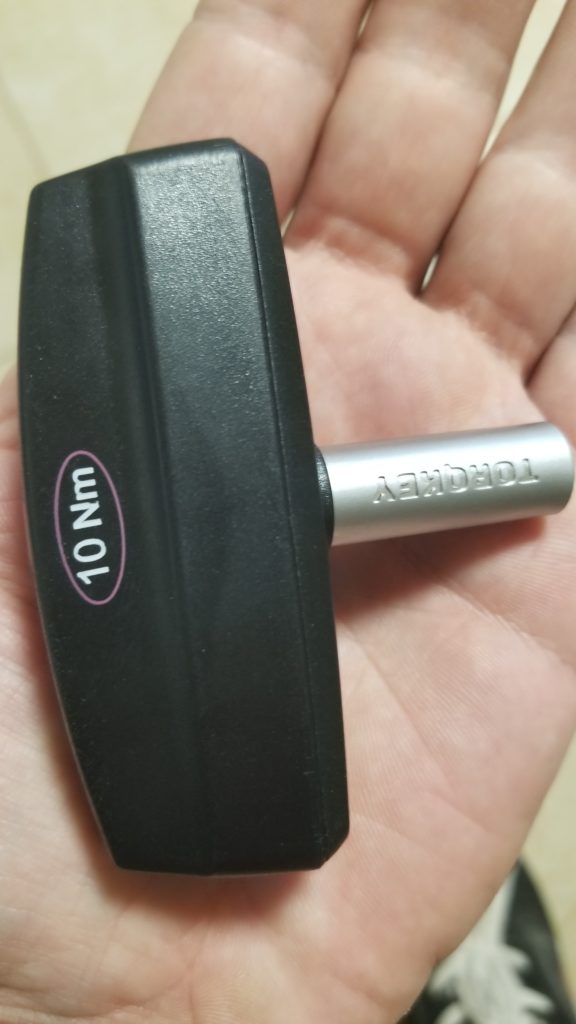
Torqkey for Barloc installation 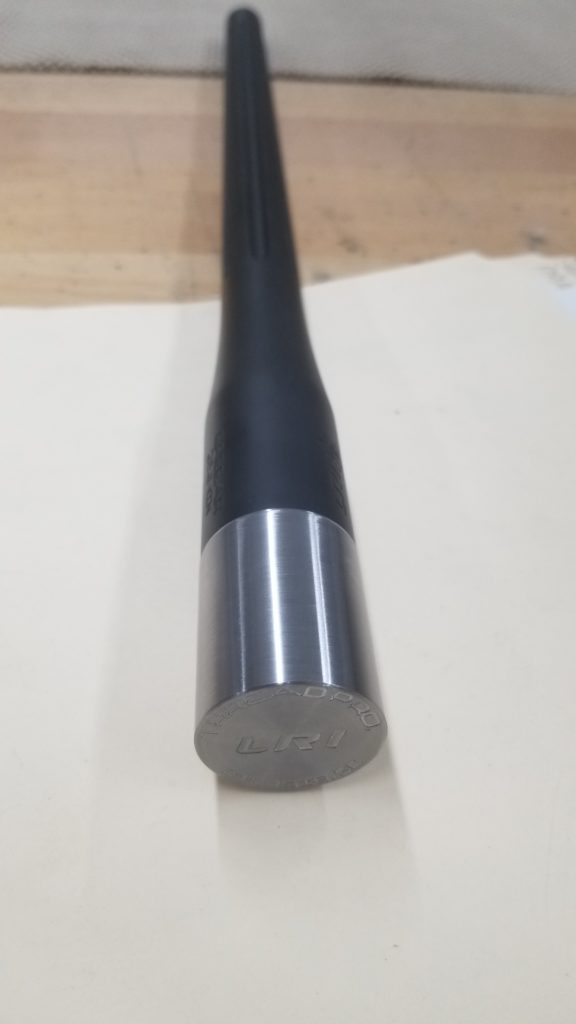
Tenon thread protector installed 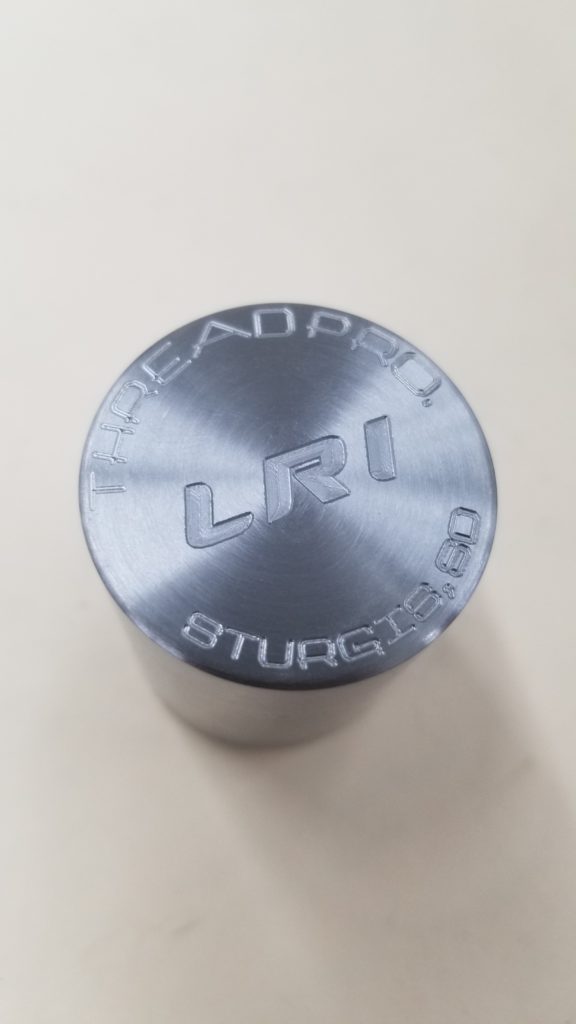
Tenon thread protector engraving
The bottom metal was a choice I thought should have been easy but really wasn’t. My dad has big hands and needs something a bit more “tactical” to work well with his physiology. The problem with this is that most of the bottom metals in this vein either have a huge magazine catch lever that would catch on everything while being packed in a hunting situation, or they have features a bit silly for a hunting / all-around rifle, like barricade stops. I eventually settled on a Badger M5 footprint enhanced DBM. The Badger has the magazine release integrated into the trigger guard but does so in such a way the paddles are still easy to push with gloved hands (or very large fingers). The barricade stop would have to be milled off prior to assembly.
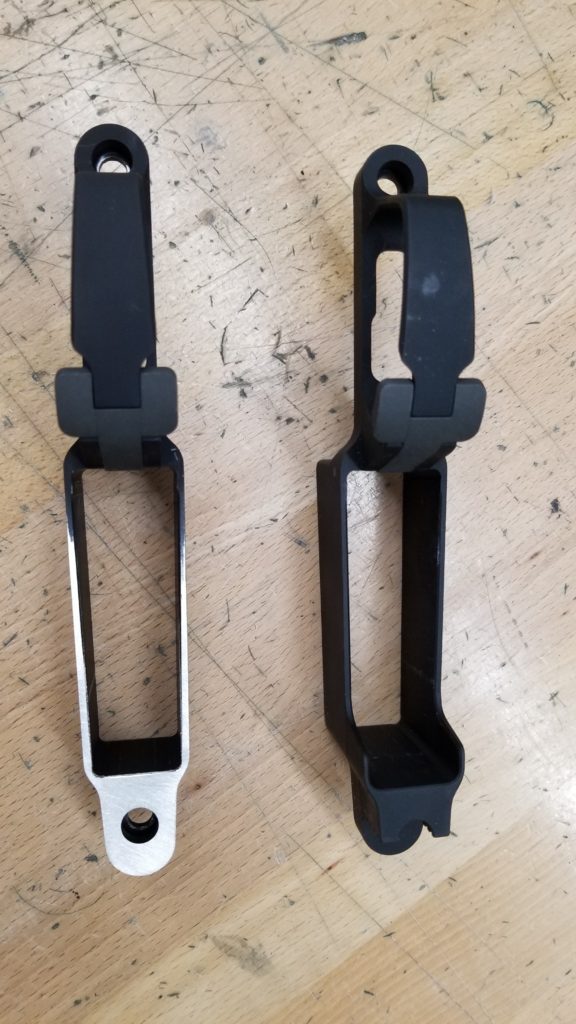
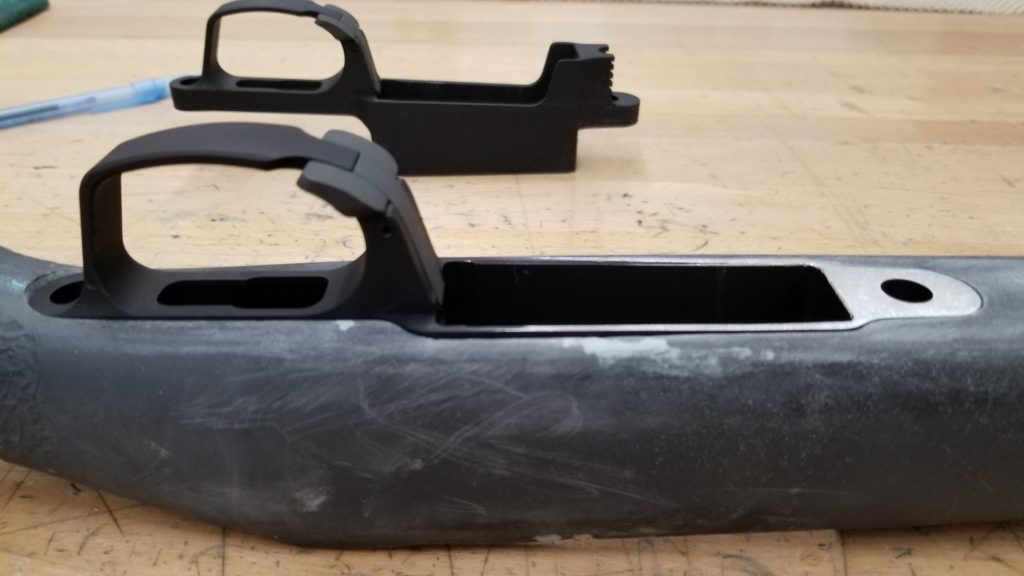
I decided on a two-stage trigger for no other reason than I have a preference for them, especially in an all-around firearm that will be used for hunting. There is a bit of a lack of good two-stage triggers for Remington footprint rifle actions, and I settled on the newly-released Geissele Super 700. I have used and liked Geissele triggers in AR-platform rifles and liked them quite a lot, fingers crossed.
That led me to magazines. Because the bodies of the two different cartridges are significantly different in diameter (even though the case head is the same size) they would need to be fed from different magazines. I guess I should clarify that… it is definitely possible they both could have been set up to feed from a common, shared, magazine but the 243’s would have sat much higher and caught a lot more of the bolt face during feeding than the 284’s. Ensuring 100% reliable feeding the first time, every time, meant setting up magazines for each round. In a perfect world, your action and bottom metal magazine catch are the right distance from each other so when the magazine registers against the catch the bolt pushes against just the right amount of case as it comes forward to feed reliably without rubbing on the magazine feed lips. The 243’s feed well from unmodified factory magazines. The 284’s will feed, but ultimately the magazines were modified by opening up the feed lips slightly to ensure reliable feeding over the long haul.
I decided on a pair of Accuracy International 5-round magazines for the 284. These magazines hold 4 of the larger-diameter 284 rounds. I figured 4 was perfectly adequate for what would likely be used on hunts for larger game. This magazine was also fairly low profile, which would be beneficial when packing the rifle. The binder plates at the nose of these magazines were removed and replaced with a soldered-in steel plug. This was to ensure the hand loaded 284 rounds could be loaded out a bit longer to really take advantage of the larger case capacity the 284 offers.
For the 243, I settled on a pair of American Rifle Company’s double-stack center-feed magazines. These magazines are a bit taller than the 5-round magazines, but not so much taller as to be problematic. To ensure reliable feeding of these magazines they were equipped with LongRifles, Inc. aluminum followers. The 10-round capacity of the magazines intended for the 243 seemed appropriate, as these may be used for the occasional target shooting or varmint session.
Down to the details, rings, bipod, sling, paint… American Rifle Company makes amazing actions, they also make great scope rings. Choosing them was a no-brainer. For the bipod, I chose a 9-13″ Harris with the swivel and leg detents. The Harris is classic, functional and lightweight, hard to beat. For the sling, I decided synthetic material would be the best match, and an easily adjustable but fairly traditional sling would be the best match. I settled on a hunting sling from Viking Tactics.
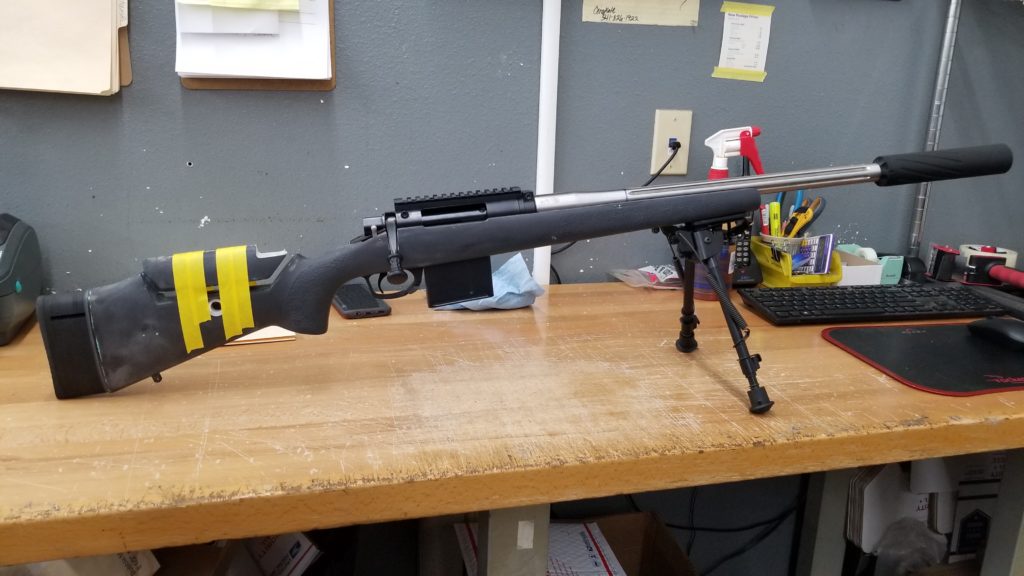
The paint was a matter of much deliberation. The stock and metal were to be Cerakoted at the end of the build by LRI, who have the capability in-house to do almost anything from mild to wild. When looking at some of the amazing stencil work they regularly publish online, it can be a bit hard to reign oneself in and remember… this isn’t my rifle, what would my dad really like? In the end, I settled on a grey theme, with the stock coated with Sniper Grey with dual webbing colors on top in Graphite Black and Stainless Steel. All of the metalwork was finished in Graphite Black sans the action and bolt, which were left in their factory black carburized finish.
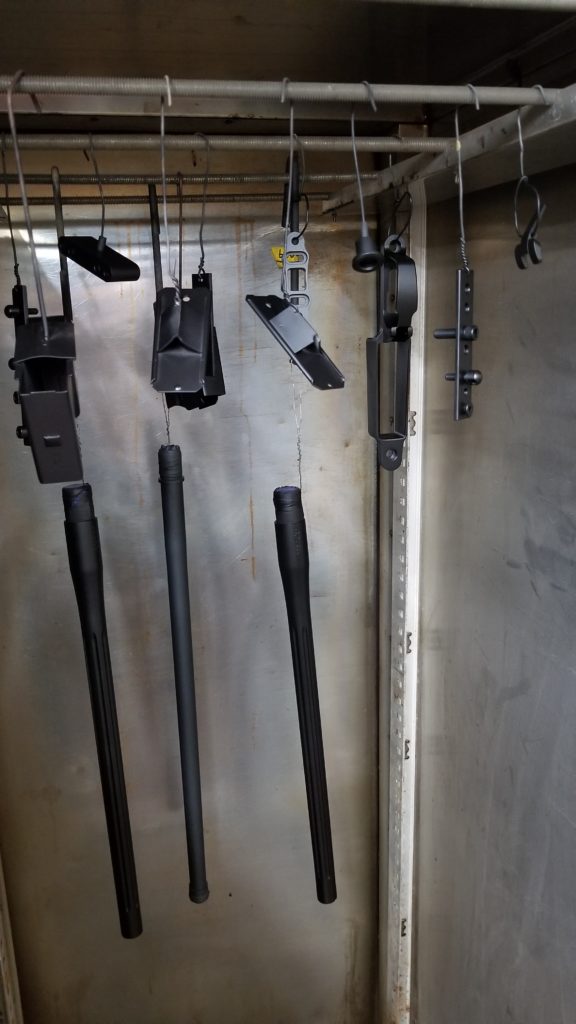
Graphite black on all the metal 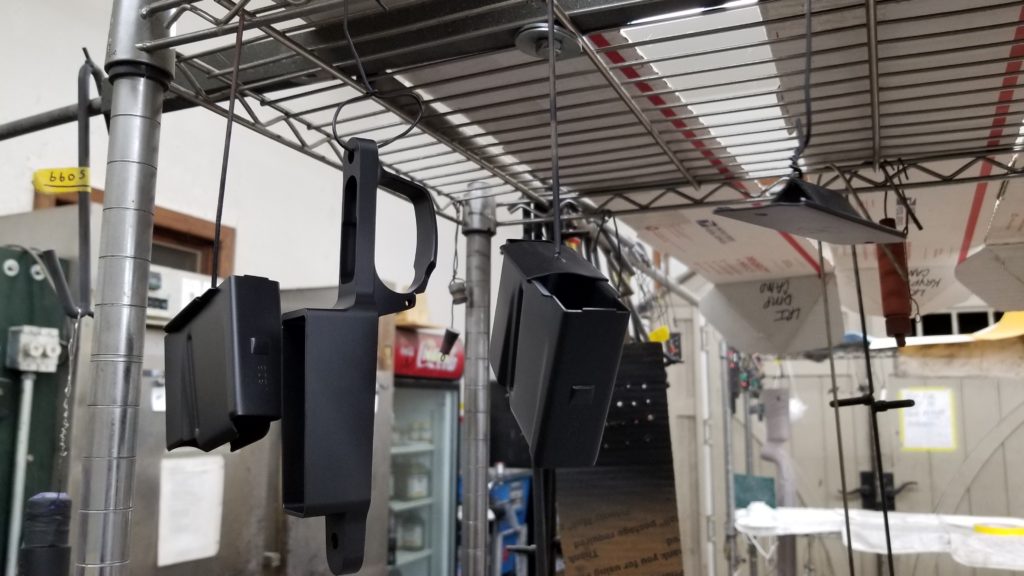
The two AI magazines had to be sprayed after removing the binder plates 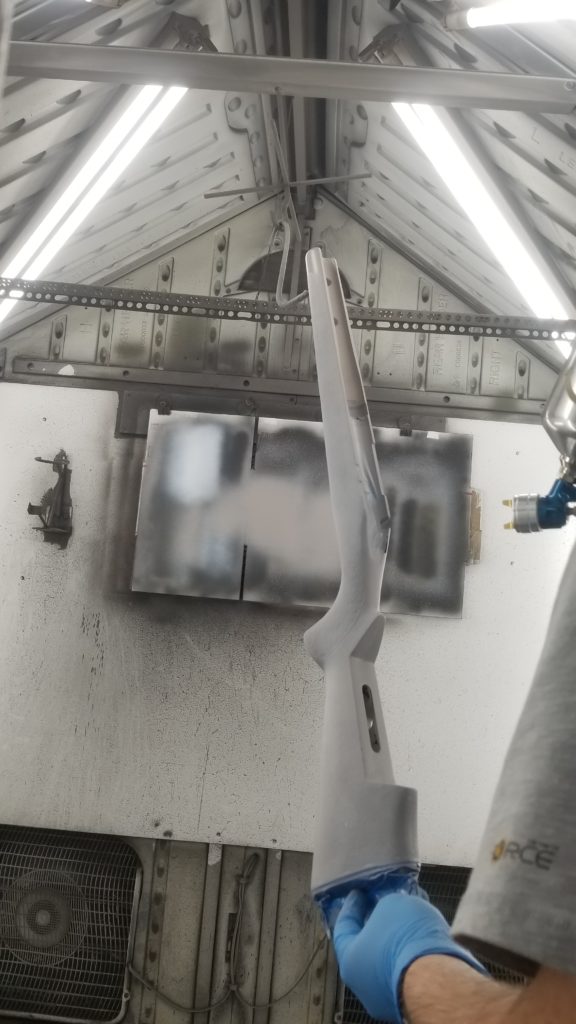
Light coat of primer 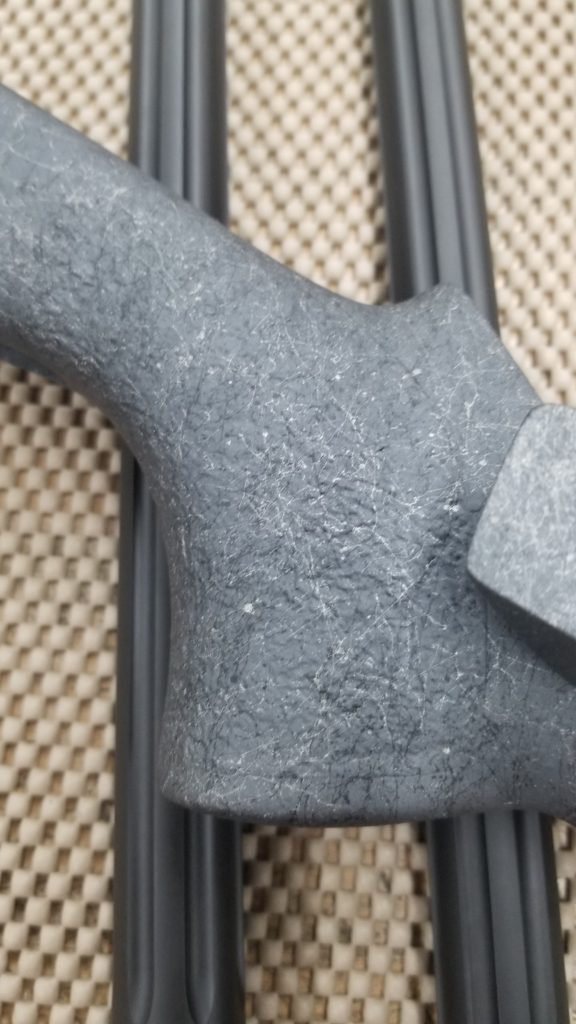
Finished product up close
Finally fully assembled, and just in time. This build was wrapped up on December 21, 2018. (Yes, it took me almost year to post these details).
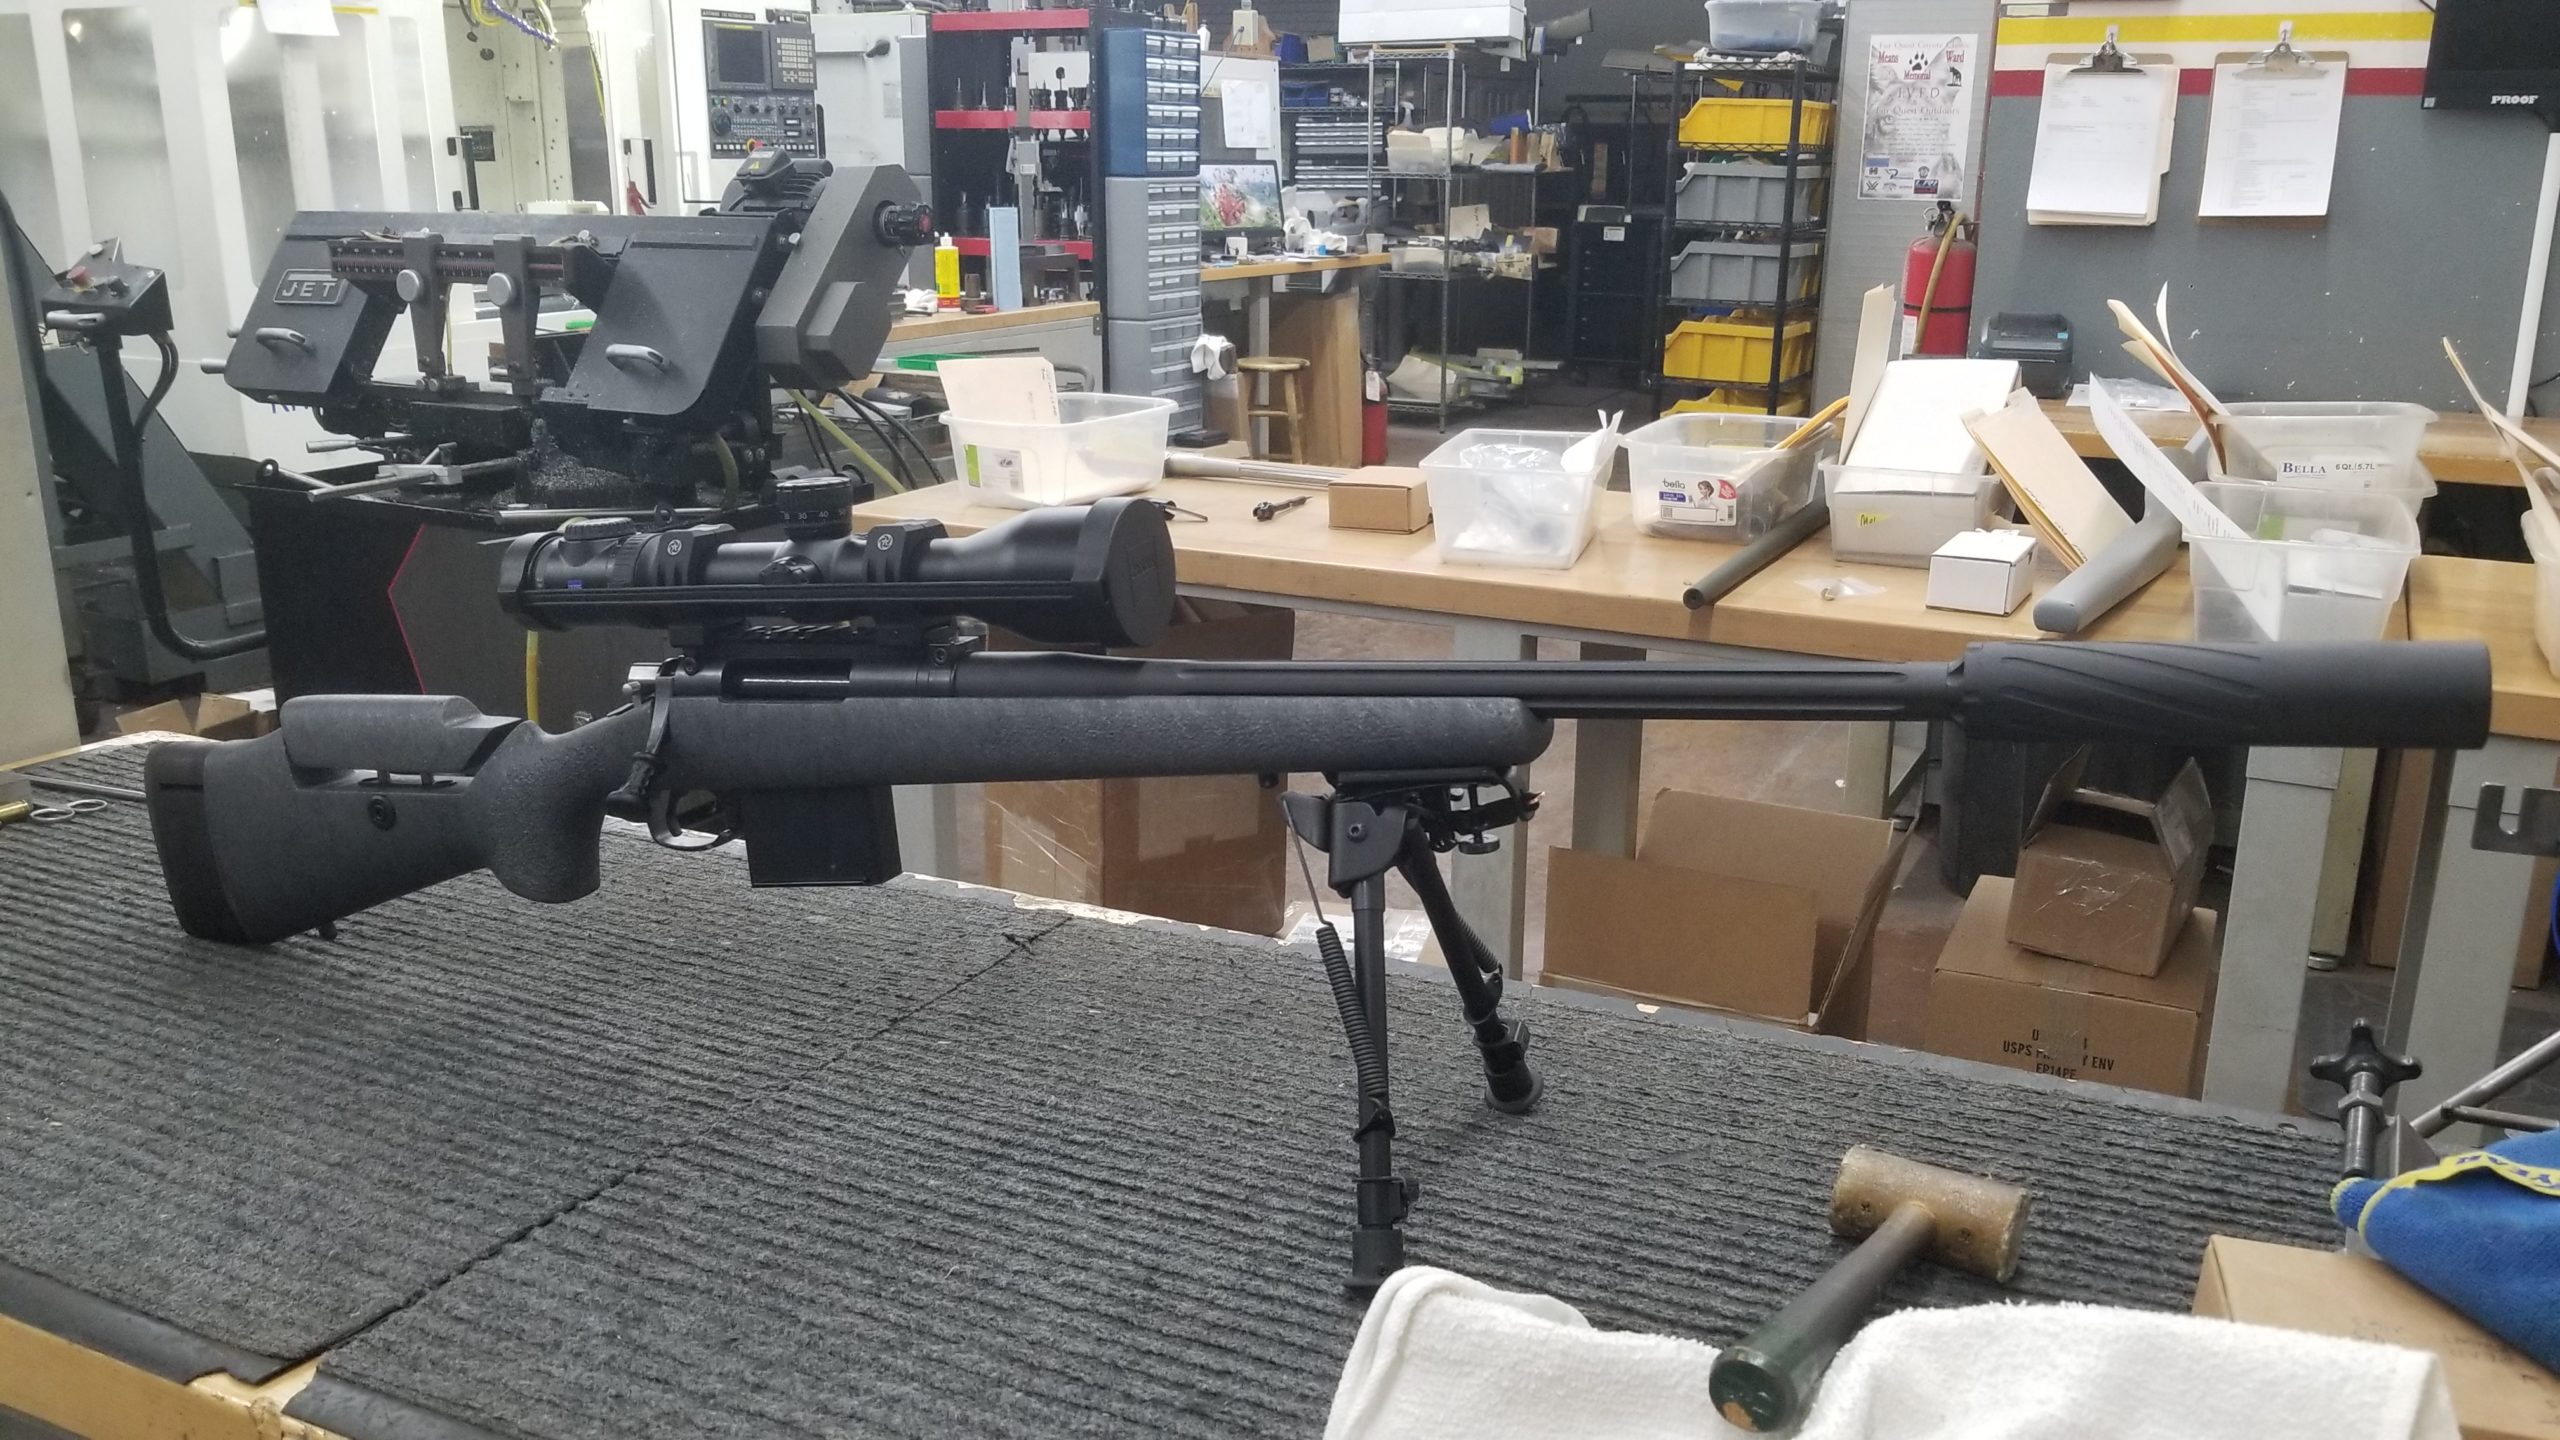
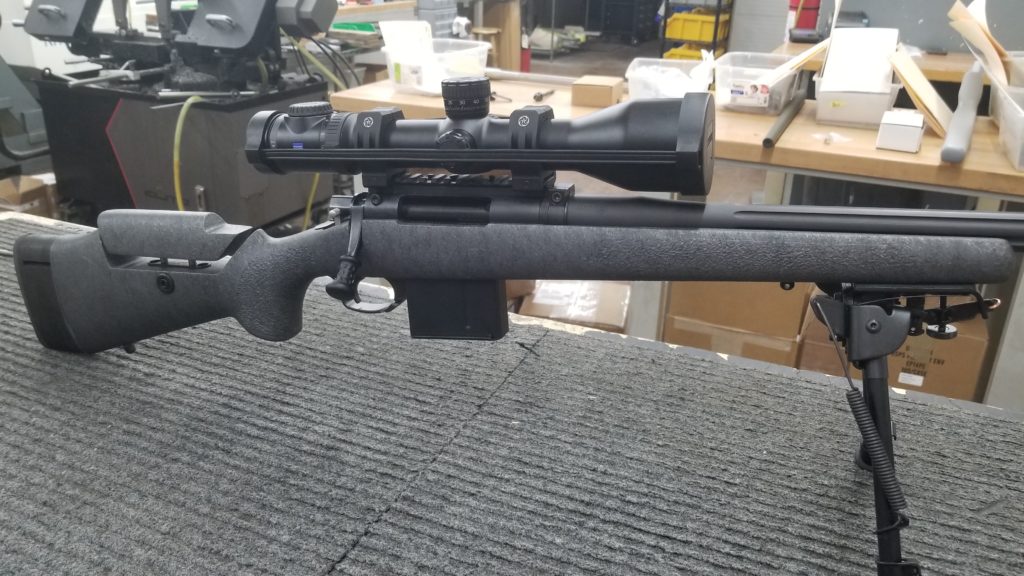
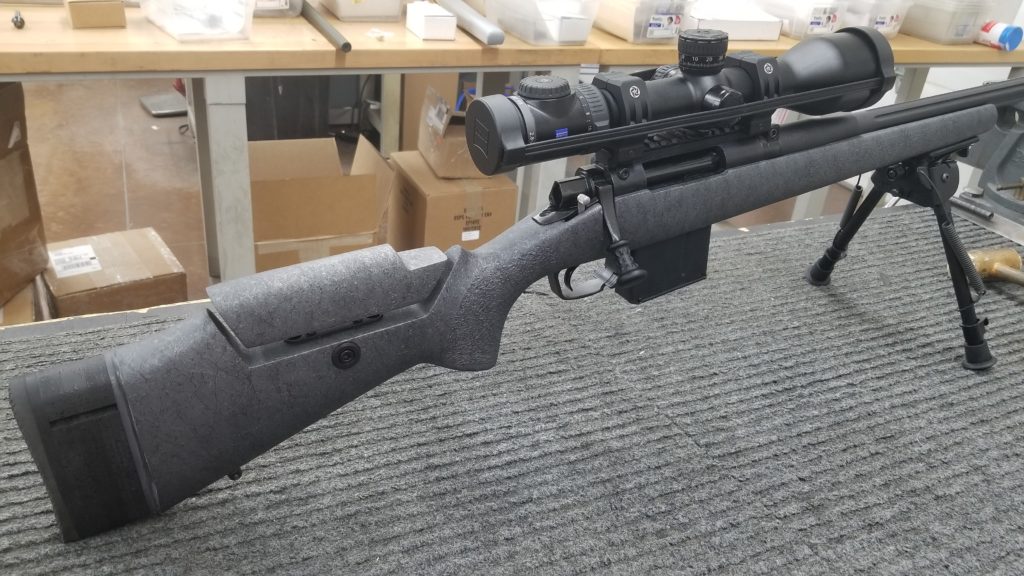
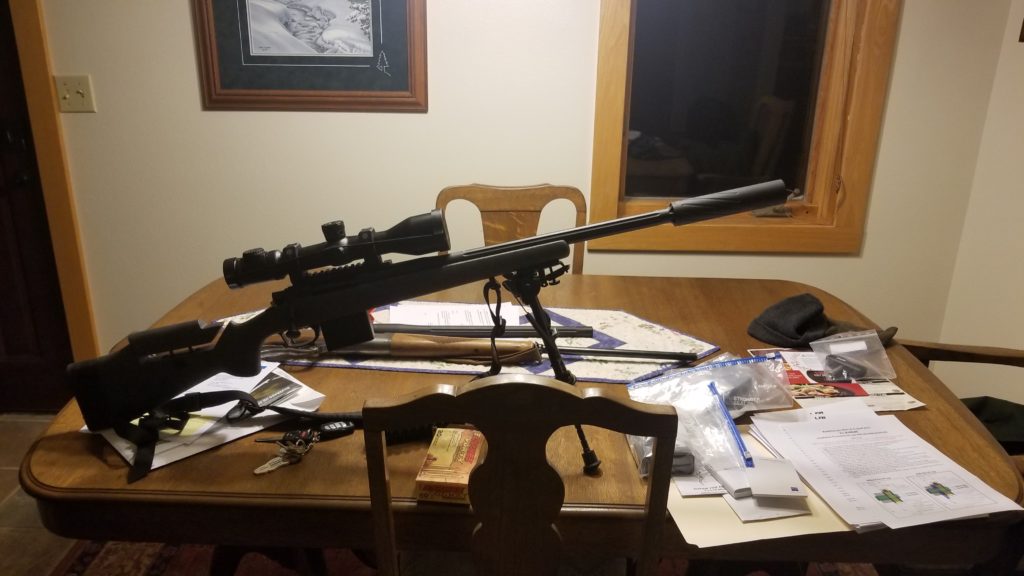
Putting together something very custom has a way of spiraling out of control, but that can be enjoyable too — just so long as you don’t do it every day. As nice as it looks I sure hope my dad treats it like the tool it is.
